

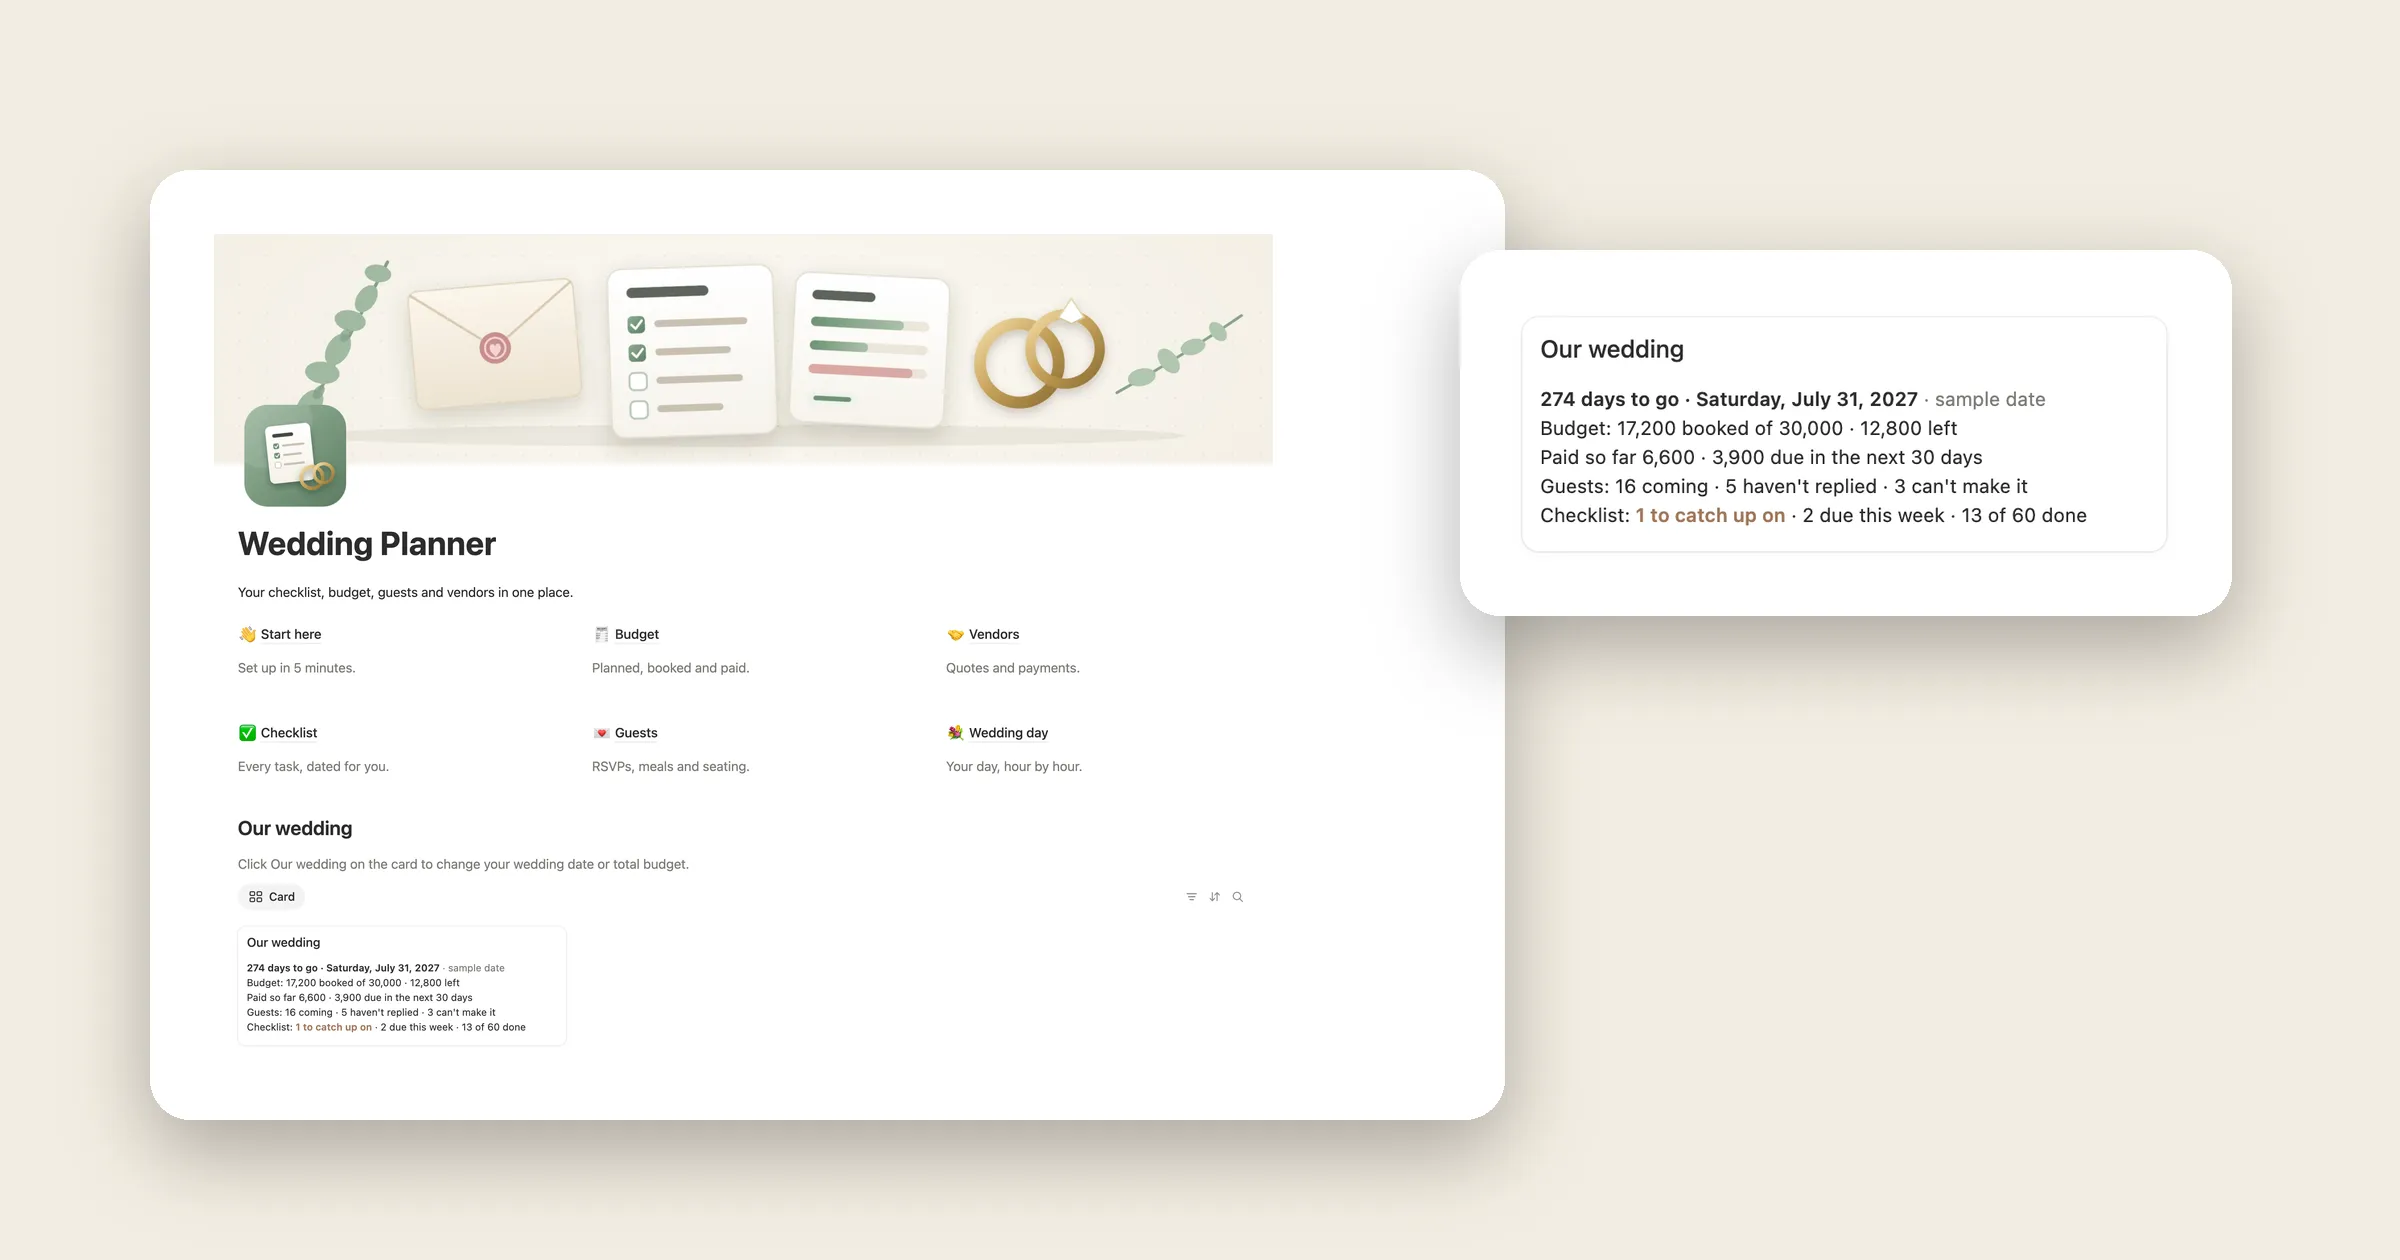

Try it: move the wedding date
Pick a different date and watch every task get a new due date and label. Tick a task to see the line on top change. That’s the whole idea of this setup: you type the date once, and the checklist plans itself around it.
230 days to go
2 of 10 done, 2 to catch up on, 1 due in the next 7 days
- Jun 24, 2026 Done
- Jul 29, 2026 Done
- Aug 28, 2026 Catch up
- Oct 27, 2026 Catch up
- Nov 11, 2026 Next 7 days
- Dec 6, 2026 Next 30 days
- Feb 24, 2027 Later
- Apr 25, 2027 Later
- Jun 3, 2027 Later
- Jun 21, 2027 Later
1. One page for the wedding
Everything else links to this page, so it can count your tasks and guests for you.
- Make a new page called Wedding planner. On it, type
/tableto add a database and call it Wedding. - Add a single page to it called Our wedding, and a Date property called Wedding date. Type your date.
- Add a Formula property called Days to go:
dateBetween(prop("Wedding date"), today(), "days")In our test on October 31, 2026, a wedding on June 12, 2027 showed 224.
2. A checklist that dates itself
Instead of typing a due date on every task, give each task how many days before the wedding it should be done.
- Add a second database called Tasks with a Number property Days before and a Checkbox called Done.
- Add a Relation property called Wedding. Pick the Wedding database, turn on Show on Wedding and name the property it adds there Tasks.
- Click the arrow next to New, choose New template and set Wedding to Our wedding. Back in the template list, click ••• next to it and choose Set as default, so every new task links itself.
- Add a Formula property called Due:
prop("Wedding").first().prop("Wedding date").dateSubtract(prop("Days before"), "days")It reads the date on Our wedding and counts back. Some numbers to start with:
| Task | Days before | For a June 12, 2027 wedding |
|---|---|---|
| Set your budget | 365 | June 12, 2026 |
| Book the photographer | 300 | August 16, 2026 |
| Send save the dates | 240 | October 15, 2026 |
| Send the invitations | 60 | April 13, 2027 |
| Pack for the honeymoon | 3 | June 9, 2027 |
| Write thank-you notes | -14 | June 26, 2027 |
A minus number means after the wedding: -14 is two weeks after the day.
3. Know what’s due
Add one more formula to Tasks. It turns the due date into a label you can sort your list by:
if(
  prop("Done"),
  "Done",
  if(
    empty(prop("Due")),
    "No date yet",
    let(
      n, dateBetween(prop("Due"), today(), "days"),
      ifs(
        n < 0, "Catch up",
        n <= 7, "Next 7 days",
        n <= 30, "Next 30 days",
        "Later"
      )
    )
  )
)
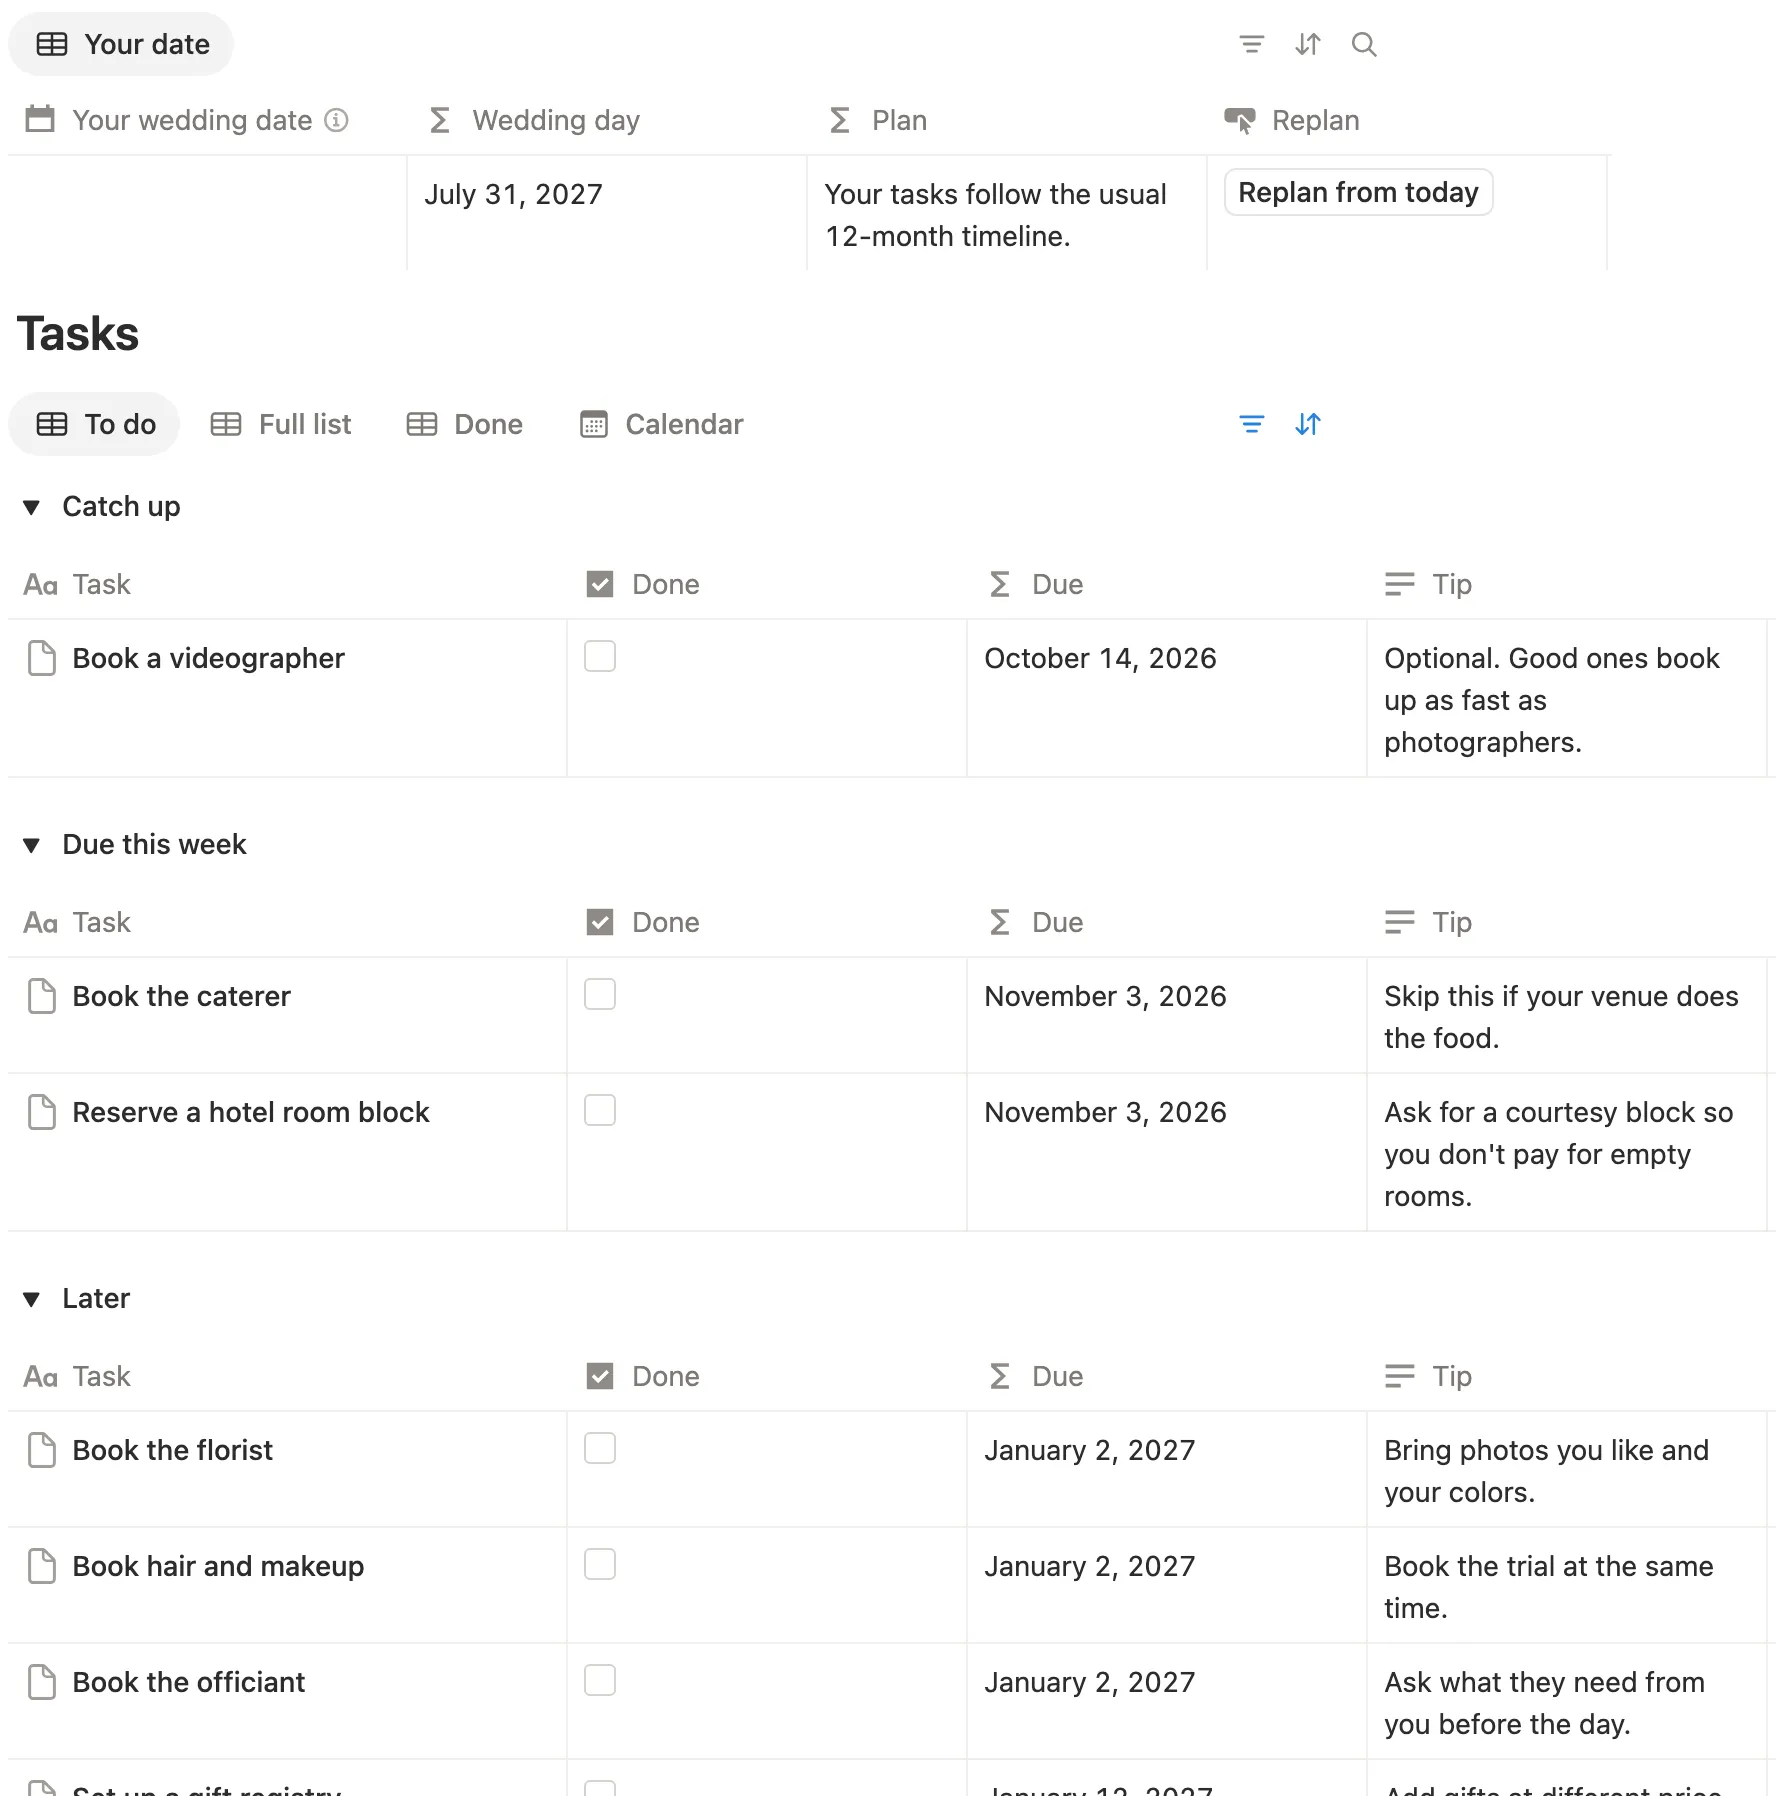
Then open the view’s settings, choose Group and pick When. Your checklist splits into Catch up, Next 7 days, Next 30 days and Later, so the urgent part is always on top. Add a filter Done is unchecked to hide what’s finished.
4. Guests and RSVPs
- Add a Guests database with a Select property called RSVP and two options: Coming and Can’t come. Leave it empty until someone answers.
- Link it to the wedding like the tasks: a Relation called Wedding, shown on Wedding as Guests.
- On Our wedding, add a formula called Guest count:
let(
  guests, prop("Guests"),
  coming, guests.filter(current.prop("RSVP") == "Coming").length(),
  waiting, guests.filter(empty(current.prop("RSVP"))).length(),
  format(coming) + " coming, " + format(waiting) + " still to reply"
)
With six guests, three Coming, one Can’t come and two with no answer, it showed 3 coming, 2 still to reply.
5. Everything on one card
Last, a line that sums up the checklist. Add it to Our wedding:
let(
  tasks, prop("Tasks"),
  open, tasks.filter(not current.prop("Done")),
  late, open.filter(current.prop("When") == "Catch up").length(),
  soon, open.filter(current.prop("When") == "Next 7 days").length(),
  format(tasks.length() - open.length()) + " of " + format(tasks.length()) + " done" +
    if(late > 0, ", " + format(late) + " to catch up on", "") +
    if(soon > 0, ", " + format(soon) + " due in the next 7 days", "")
)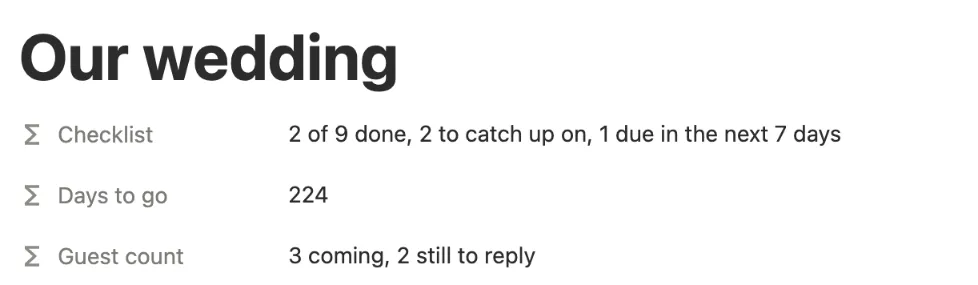
To see it every day, add a Gallery view of the Wedding database to your home page, set Card preview to None and turn on these properties.